
This document demonstrates how to export WordPress blog posts from one website and import the posts into another website.
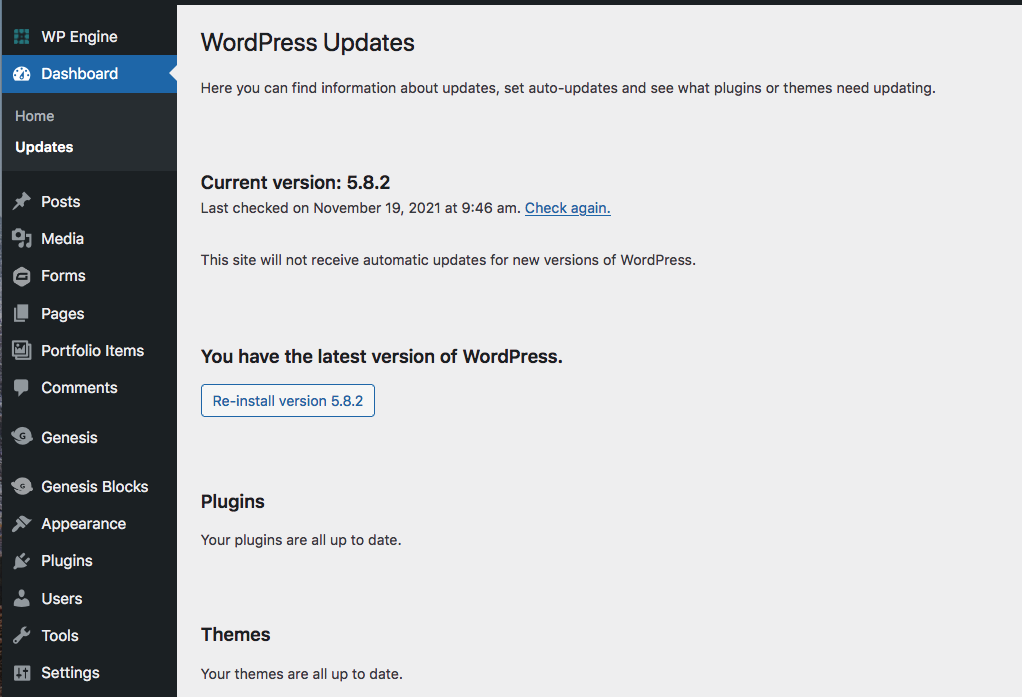
Backup / Update Software
First create backups of both websites. Then update all the software on both sites.

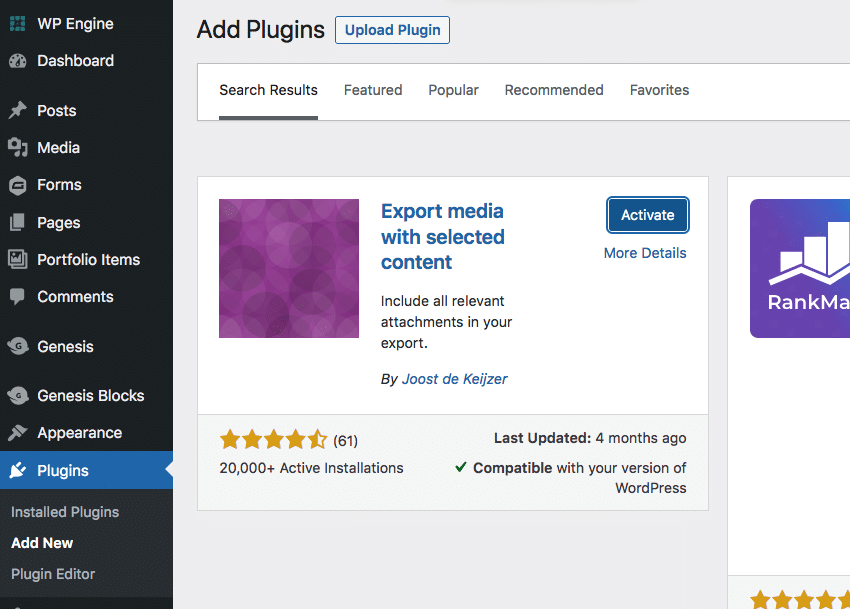
Install Plugin: Export Media with Selected Content
Login to the ‘Source Website’ and install the WordPress software plugin “Export media with selected content” by Joost de Keijzer. This is the website where you want to export the blog posts from. Do not install this plugin on the website where you want to import the blog posts.
WordPress Plugin Repository: https://wordpress.org/plugins/export-media-with-selected-content/
All you need to do is Activate the plugin. There are no configurations necessary. It will automatically work upon activations.
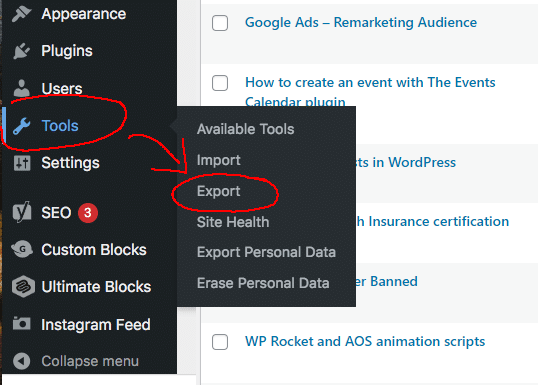
Export Posts from Source Website
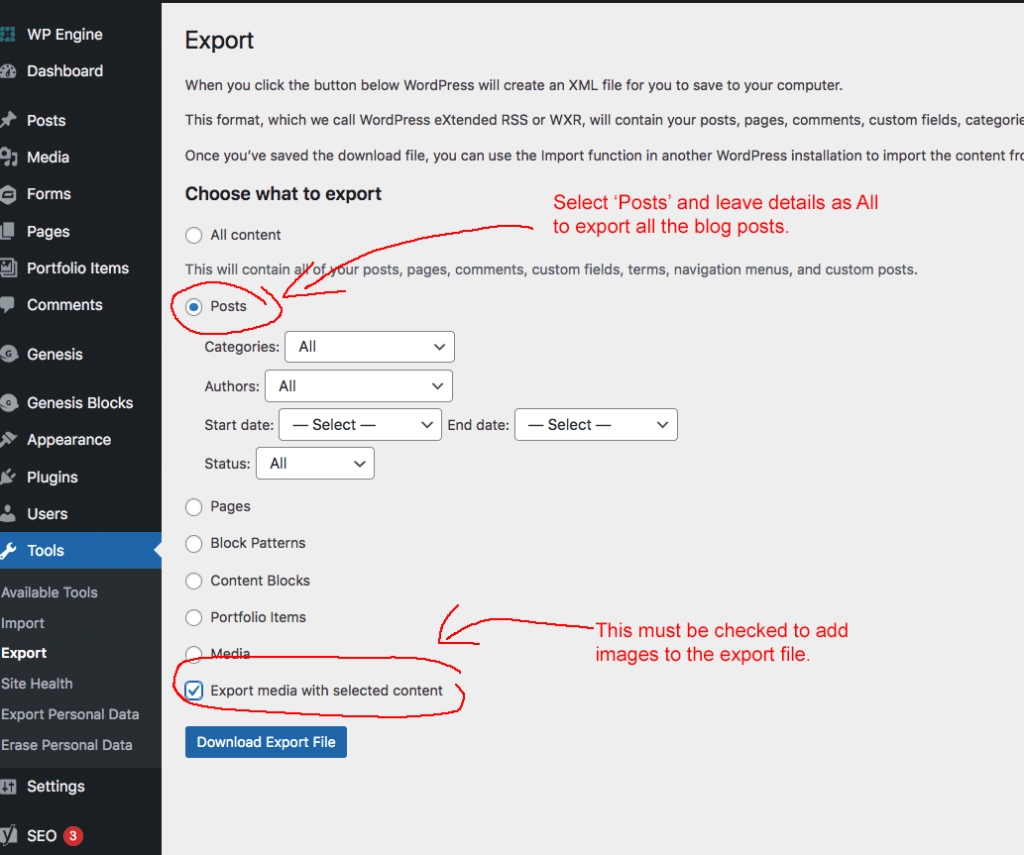
In the Source Website, navigate to Tools > Export
Press “Upload file and import” button.
This will open the Import screen where you will configure the import.
Configure Import
Select the content type to import, which is Posts for this demonstration. To include images in the export file, you must tick the checkbox for Export media with selected content.
Download Export File
Press the Download Export File button, then select Save File in the download prompt and press OK.

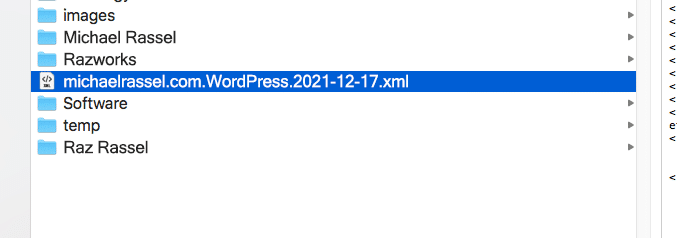
Confirm XML file download
The export is an XML file. Confirm that this file has downloaded to your device.
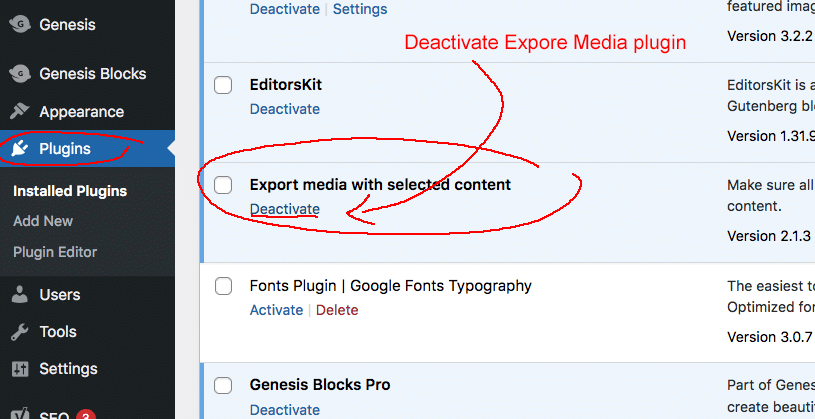
You are now finished with the ‘Source Website’ export. You will be importing this file into the Destination Website and you will not need anything else from this Source Website. This plugin Export Media with Selected Content should be removed from the Source Website, as it will not be used for anything else. But wait until the import process is complete, just in case something doesn’t work as expected. Return to this Source Website to remove this plugin after you’ve completed and confirmed the import.
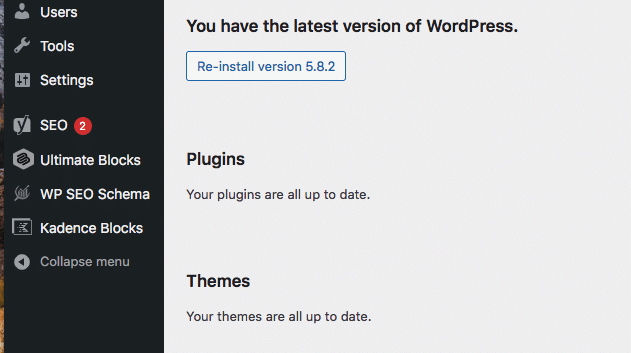
Destination Website Backup and Software Update
Login to the Destination Website. Create a website backup, then make sure the software plugins and core are up to date.
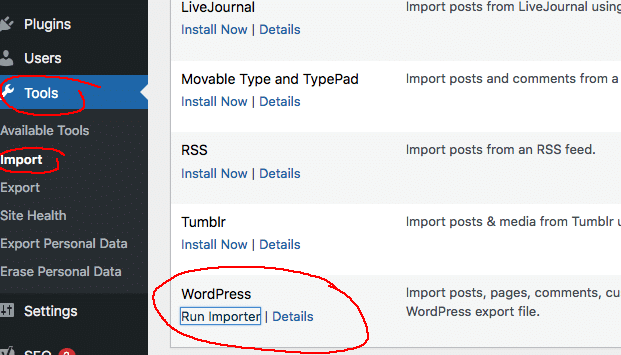
Import Blog Posts into Destination Website
To import the blog posts, navigate to Tools > Import > WordPress, and press the “Install Now” link to install the WordPress Importer plugin.

Run WordPress Importer
Once the WordPress Importer plugin is installed, press the “Run Importer” link.
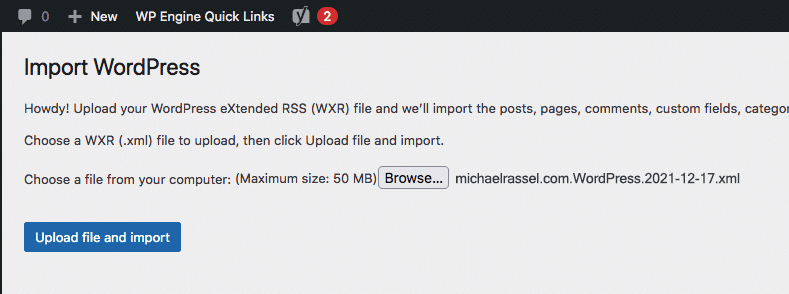
Configure Post Import
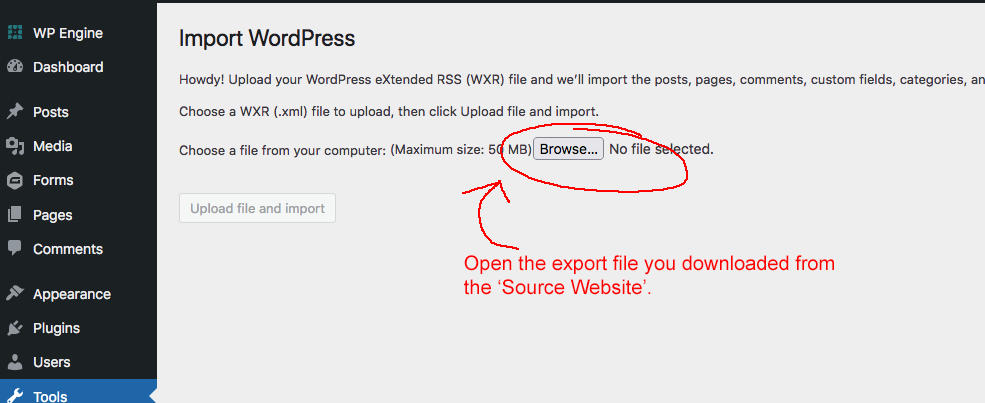
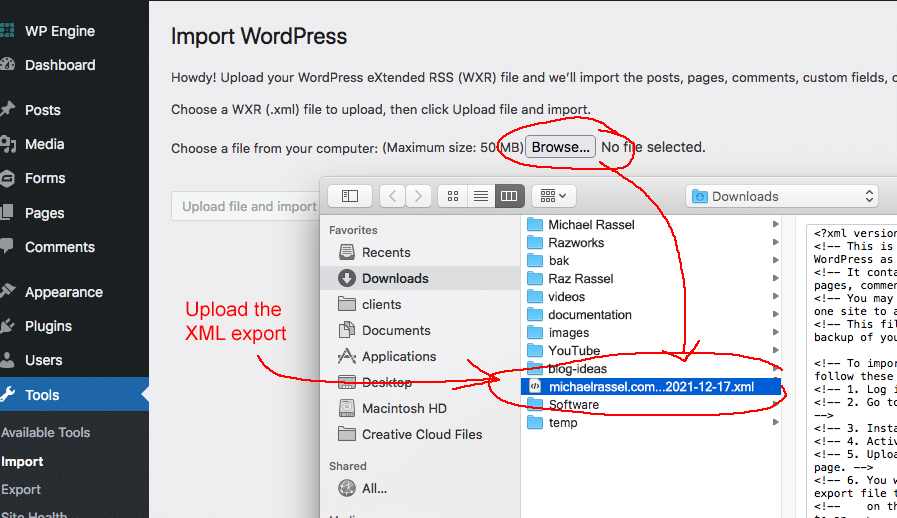
The Import WordPress screen will display. Press the “Browse” button to upload the export file you downloaded from the Source Website.
Assign Authors
Posts must have an author assigned to them. The destination site may not have the same authors that the source site has. So you must assign an existing author to the posts that will be imported. It doesn’t matter what author you assign as long as an existing destination site author is assigned.

Run the Import
Pressing the Submit button will begin the import process. This will upload the XML file you specified and create all the posts using the data from the XML file. This could take a few seconds to several minutes, depending upon how many posts are in your XML file. A dozen posts should take a few seconds. A couple of hundred posts could take several minutes.
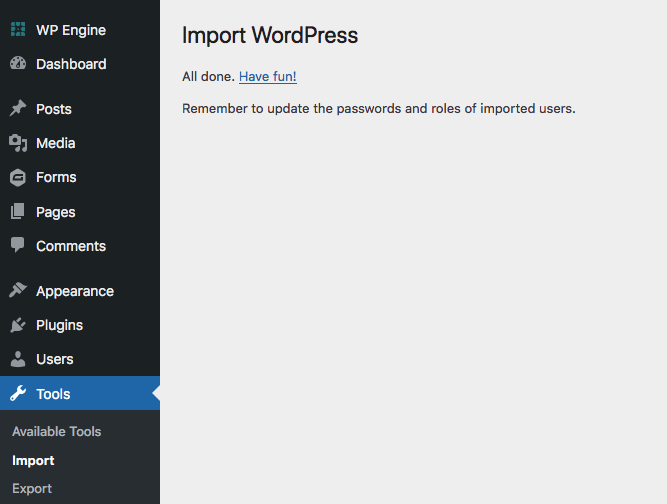
When the import is complete, you will see the following confirmation screen:
Confirming the Import
Now that the import has been completed, we need to check the posts to confirm that it all uploaded as expected. Check the Posts interface to confirm that new posts exist.
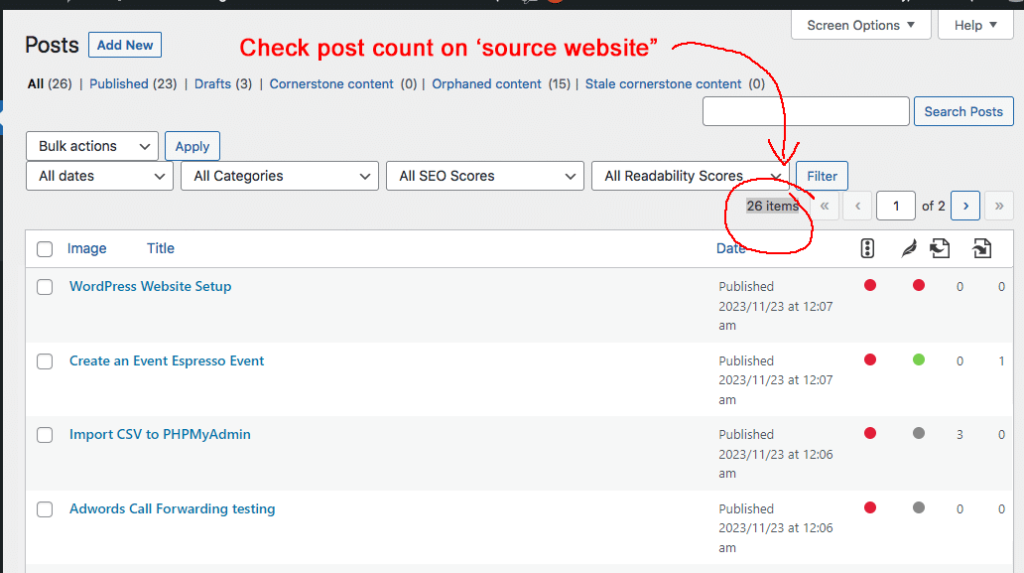
Check ‘source website’ post count
Compare the source website post count with the destination website post count.
Compare ‘destination website’ post count:
Compare the imported post count with the original source post count:
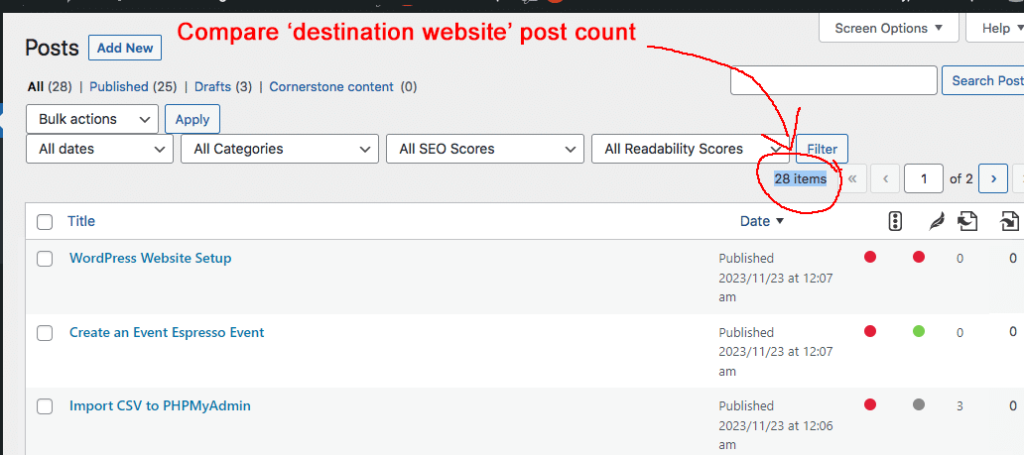
The destination website has 2 extra posts than the source. This is expected, as our website template has 2 sample posts by default.
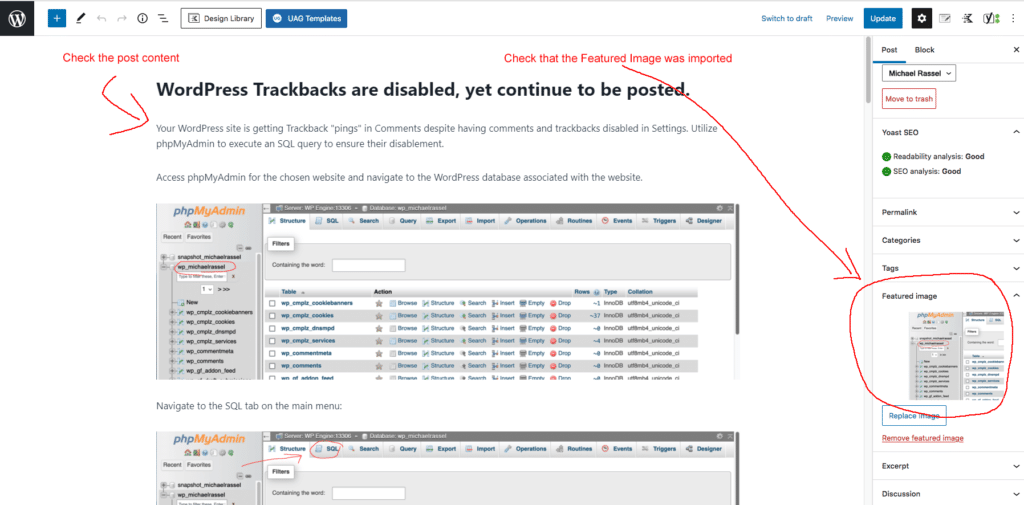
Visually confirm images
- Confim Featured Image
- Confirm contextual image(s)
Now open a post from the list and confirm that the featured image any content images are displayed as expected:
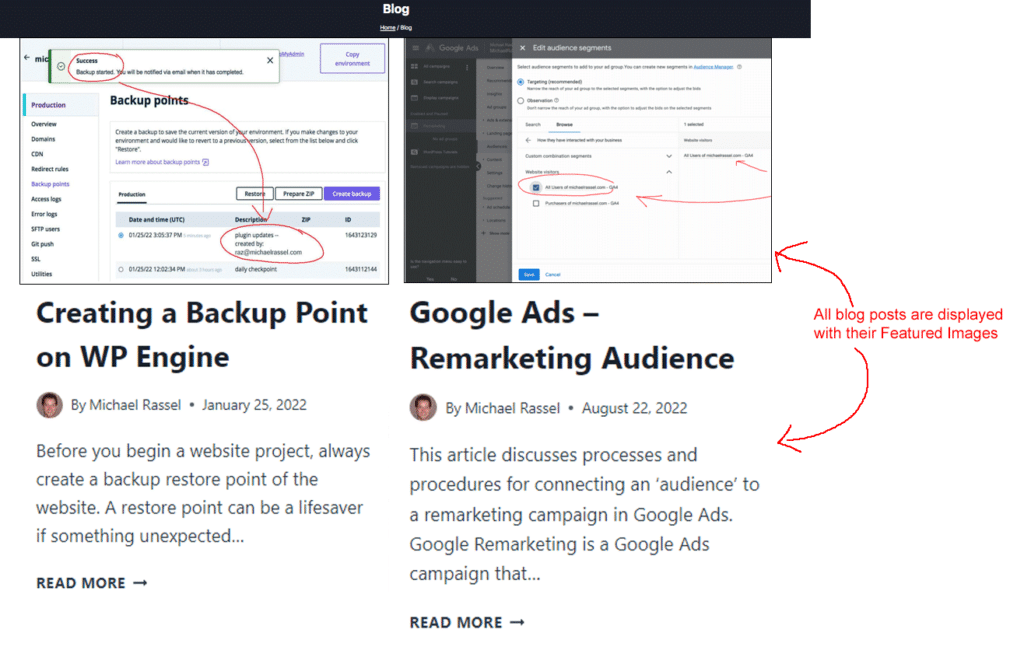
Visually Confirm the Blog Archive front-end page
Open up the Blog Archive on a separate browser or incognito view and confirm that all the posts and featured images are displaying as expected.
Finalizing
Now the import is completed and the blog posts are visible on the destination website. Before we are finished we need to perform some cleanup tasks
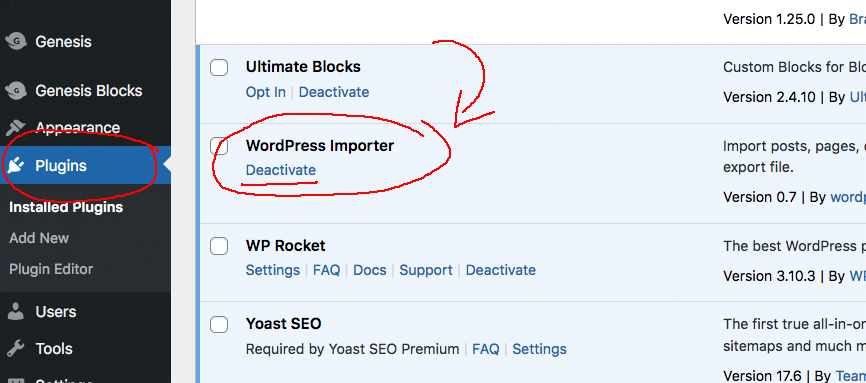
Deactivate and Delete the utility plugins we installed:
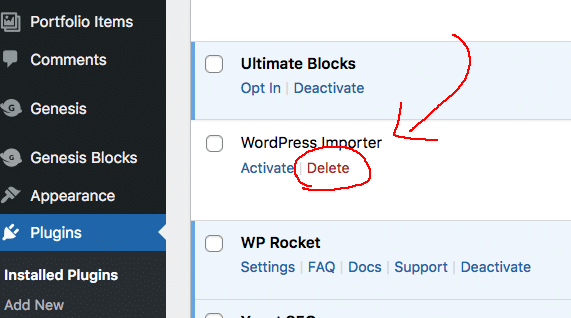
- Delete WordPress Importer from the destination website
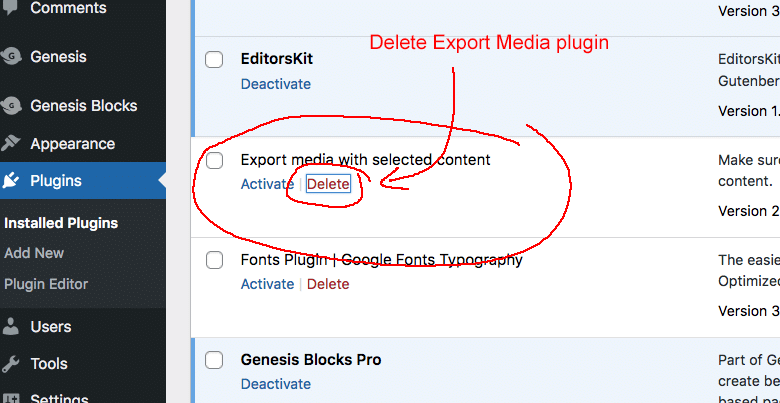
- Delete the Export Media with Selected Content from the source website
Delete WordPress Importer plugin
Delete Export Media with Selected Content plugin
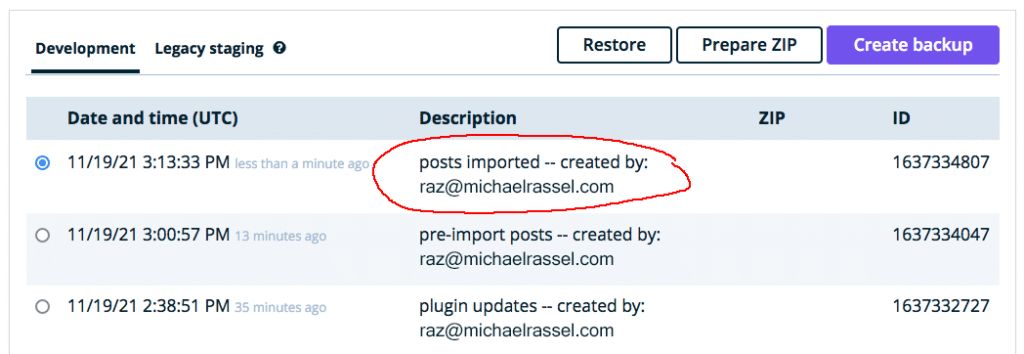
Create a website backup with your newly imported blog posts:
This concludes the tutorial for Importing Blog Posts to a WordPress website.